
Live fire cooking, campfire cooking or wood fired cooking are all much in the same. In essence, you are using wood flames and embers (and to a lesser degree charcoal) to cook food. There’s nothing particularly hard about it, but like all things worth pursuing, some real satisfaction can be gained from mastering the craft and experimenting with different techniques and foods.
The equipment you need to cook over fire is hugely varied and can range from a campfire, some butchers twine and a leg of lamb hanging from a tree, right up to a full feast prepared on a custom Argentinian grill installed in your outdoor kitchen.
The principle of all the cooking equipment or systems are the same, and bucket loads of fun can be had with it all.
We’ve prepared some basic 101 style tips to help you get started.
- THE RIGHT KIND OF WOOD
To ensure you are generating the right flavour of smoke and are producing coals, you want to be using a well-seasoned hardwood, cut to a size appropriate for the size of fire you are building. Oak, Manuka, Pohutukawa, Fruit or nut trees are a great place to start. Certainly avoid Pine, Macrocarpa and other soft woods. More info can be found HERE.
- FIRE VS FOOD BASICS
There are a few exceptions to this rule, but in most live fire or campfire cooking situations, you will be cooking on embers rather than flames. Embers are generally consistent in temperature and easier to manage than flames. For some applications you can also use the radiant heat from a larger fire or flames to cook.
We aren’t going to tell you how to build a fire, because, well, you should already know, and if not, it’s easy to find hundreds of vids on the subject.
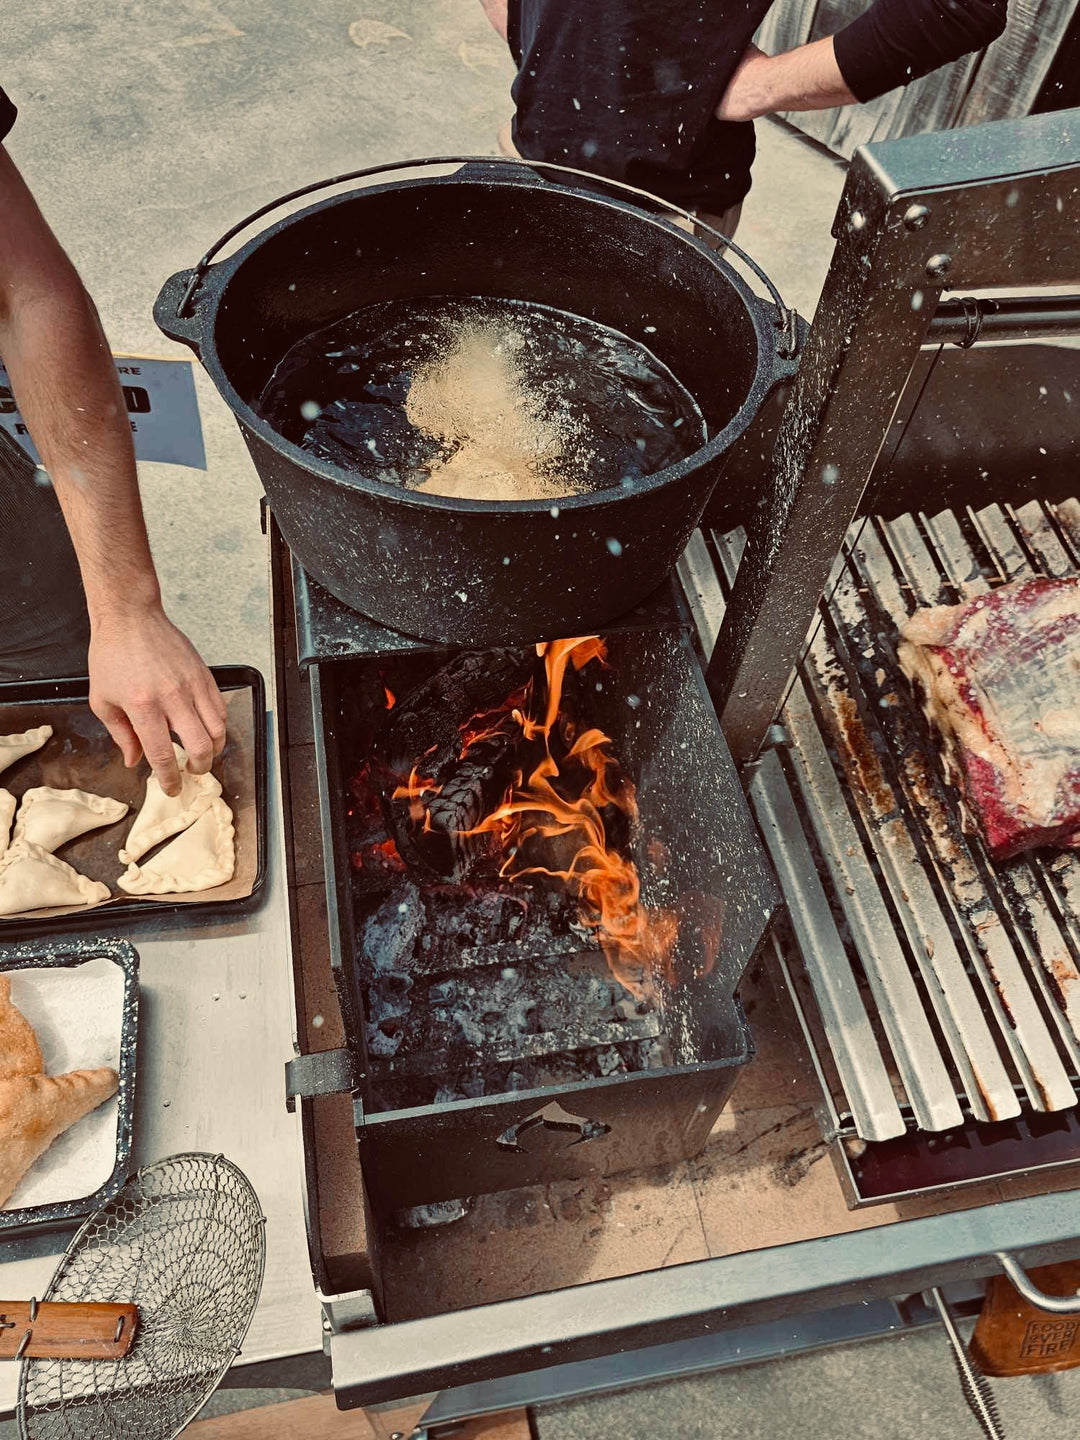
You will generally start with a blazing fire and pull embers from this for cooking. In some setups, you can choose to keep a fire running and generating embers continuously, while also providing some indirect cooking. To ensure you have a good ember base, you will generally want to light your fire 45-60 minutes before you want to start cooking.
- TEMPERATURE MANAGEMENT
There is no temperature dial when you are live fire cooking, so whatever you are cooking with needs to be able to adjust the temperature. This is done by either moving the food closer or further away from the fire / embers, or by moving the fire / embers away from the food. There’s pros and cons for both systems, but you are fine either way for now.
Investing in an IR Temperature Gun is super useful to continually learn what temperatures you are creating. However, you will also want to learn to test the temp using your hand held at the level you intend to cook on.
|
HAND OVER FIRE TEMP GUIDE |
||
|
Seconds |
Temp C |
|
|
Too hot! |
1 |
320+ |
|
2 |
290 |
|
|
3 |
260 |
|
|
Hot |
4 |
230 |
|
5 |
210 |
|
|
Medium |
6 |
195 |
|
7 |
180 |
|
|
Low |
8 |
160 |
|
9 |
140 |
|
|
Low’n’Slow |
10 |
120 |
To adjust the temperature, move the food to and from the embers or fire, or move embers to or away from the food. A thicker bed of embers will generally be hotter, so you can also reduce the depth of the ember bed to reduce the temp.
A great piece of get to really get your head around temp management is Oz Braai’s Camp Braai. This is mobile, so you can move the unit to and from the fire or embers, but it also has three cooking levels so you can raise and lower the food. Try a reverse sear tomahawk steak on this and thank us later!
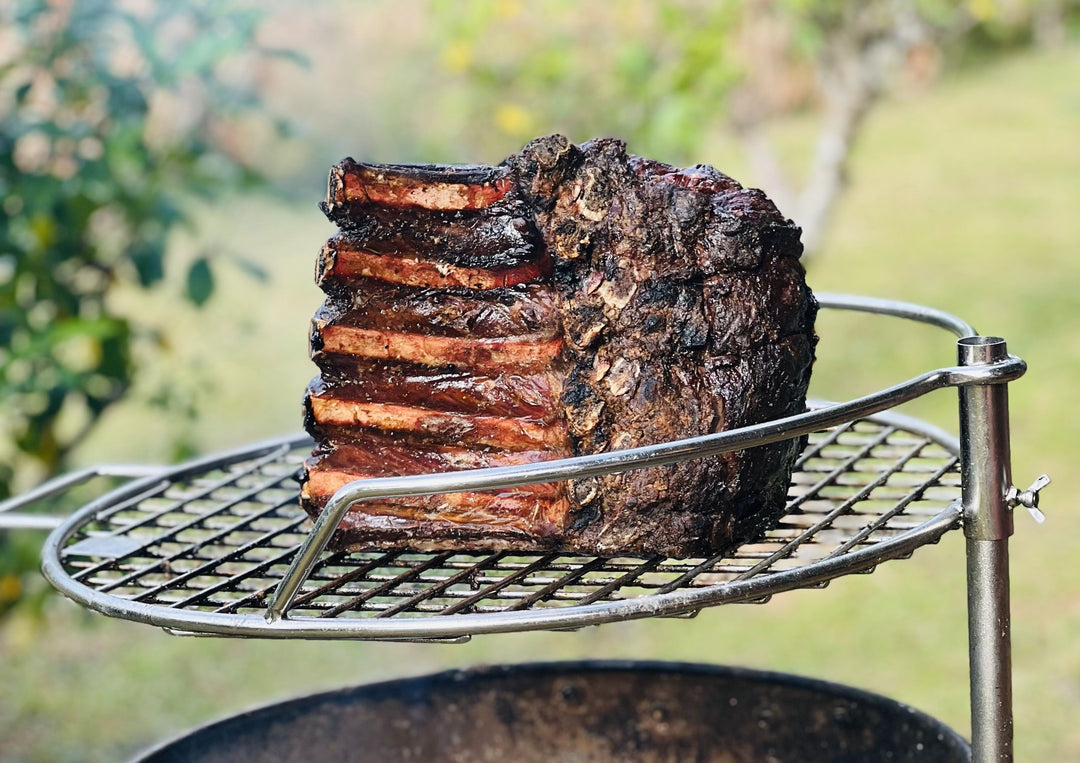
- WHAT TO COOK AND HOW
Almost everything that you can cook, can be cooked over flame, so you are only limited to your imagination. A vital piece of kit is an instant temperature probe, so you can quickly measure the internal temperature of your food.
We will be adding a lot of recipes in the next few months so keep you eyes peeled to here.
Some of our favorites, with their approx. cooking temp, cooking time and internal temp are below:
|
Cooking Temp |
Time (minutes) |
Internal Temp C |
||
|
Seconds |
Celcius |
|||
|
Raw Snags |
5 to 7 |
180 to 210 |
10 to 15 |
80 |
|
Chicken Nibbles |
6 to 8 |
160 to 195 |
20 to 30 |
80 |
|
Butterflied Chicken |
5 to 7 |
180 to 210 |
45 to 60 |
80 |
|
Venison Backstrap |
3 to 5 |
210 to 260 |
5 to 10 |
57 |
|
Whole Fish |
5 to 7 |
180 to 210 |
10 to 20 |
70 |
|
1 Inch Ribeye Steak |
3 to 5 |
210 to 260 |
6 to 10 |
57 |
|
Pork Belly |
8 to 10 |
120 - 160 |
100 to 140 |
95 |
- VITAL KIT
I’m sure you can get by with a DIY approach, but below is a list of gear that we find is pretty vital to perfecting the live fire cooking craft.
PUREQ Solo Instant Read Thermometer
PUREQ Gamma IR Laser Gun Thermometer
Food over Fire Heat Resistant Gloves
- FINAL WORD
As long as you follow these do’s and don'ts about open fire cooking, you’ll look like you know what you were doing even if it’s your first time.
Share your tips with us, I’m sure many of you have some awesome ideas to share! And feel free to fire away with questions.

Perfect. Just the basic info i was after thanks!
Leave a comment